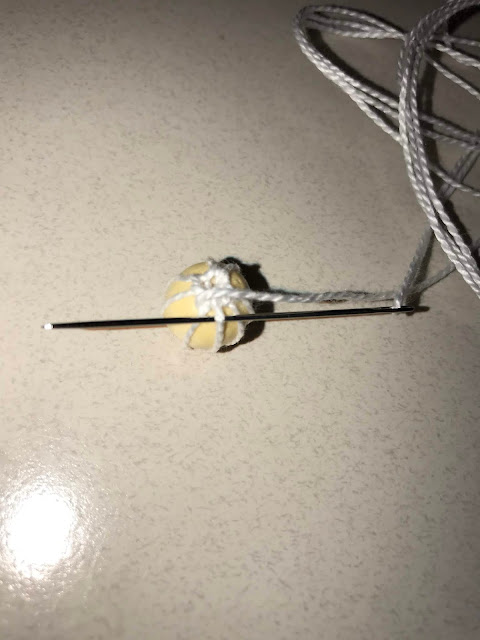
I learned to make thread wrapped buttons from Eilís ní Bhraonáin based off Jane Crow's book. There are two basic "weave" types - smooth and ridge - and you start both with a wooden bead base. Here is a basic "how-to" for both with alternating colors discussed:
MATERIALS:

Materials needed: wooden bead and regular DMC floss and an embroidery needle. The size of the bead dictates the size of the button.
STARTING THE BUTTON:
Start by looping the floss (I used all the strands) through the bead and around the outside. Tie a knot, trim and pull the knot to the inside of the bead.
Make an even number of loops around the bead.
I usually go back and forth to try and keep them even.
Here I have done 8 loops around the bead. This will serve as our "warp".
Now we decide if we want a smooth button or one with raised ridges.
We'll start with a smooth button.
SMOOTH BUTTON
For a smooth bead, we take the nneedle under the warp thread, come up and move to the next warp opposite of the direction of the needle. In the pic above, we're going in right to left, so our next warp thread will be to the right.
Moving to the next warp thread to the right to continue moving the needle around the warp right to left.
So we keep repeating this around the ball. In from the right, out from the left, move to the next thread on the right.
The threads on the bottom are closer together, as you get farther up, remember to try and keep the threads an even distance apart.
Keep packing the threads in trying to keep the threads equidistant.
A view from the side. Got a bit more packing to do.
Getting to the top.
It will start to get tight. The more thread, the better it looks.
Bottom (was the side I worked to) after I've pulled the thread back through. We'll finish it below.
RIDGE BUTTON
To do the "ridge" method, the needle goes under the warp thread (below is R to L) comes around the warp thread and back under before moving on to the next warp thread (in this case, right to the left).
So on this bead, it is under, around, under the same thread, go the next thread on the left and under, around, under the same thread, and repeat. You can go the opposite direction, but whichever direct you go, just continue on as above.
Continue on to the bottom remembering to keep the warp threads equidistant by watching your tension. Feel free to push the weft threads down to pack the threads in.
A ridge button on the left and a smooth button on the right.
ALTERNATIVES:
You can make all kinds of varieties. Use two different colors - this requires 2 needles and bringing the unused thread for that round beneath the one you are using. I've gone back and "embroidered" a smooth ball. I've even put a bead at the bottom to cover the hole. Use your imagination.
FINISHING:
I pull the thread back through the center to the top where I started. My ending part is generally better packed and is the side I want showing.

I go around one of the warp thread and then do the same on the opposite warp thread to form a loop.
Then I do a half knot (similar to a blanket stitch) around the loop back to the start of the loop. I tie the end off to the inside and pull the threads through the center and cut off.


Comments
Post a Comment