I took an online "Taster" class through the San Francisco School of Needlework and Design. I didn't finish it that day, but have been working on it a little at a time. The "kit" included the piece of even weave fabric, some stuffing, a needle, and wool precut to 16" lengths. No idea on brands. The school is excellent on sending you more floss if you run out though (I did on the flower).
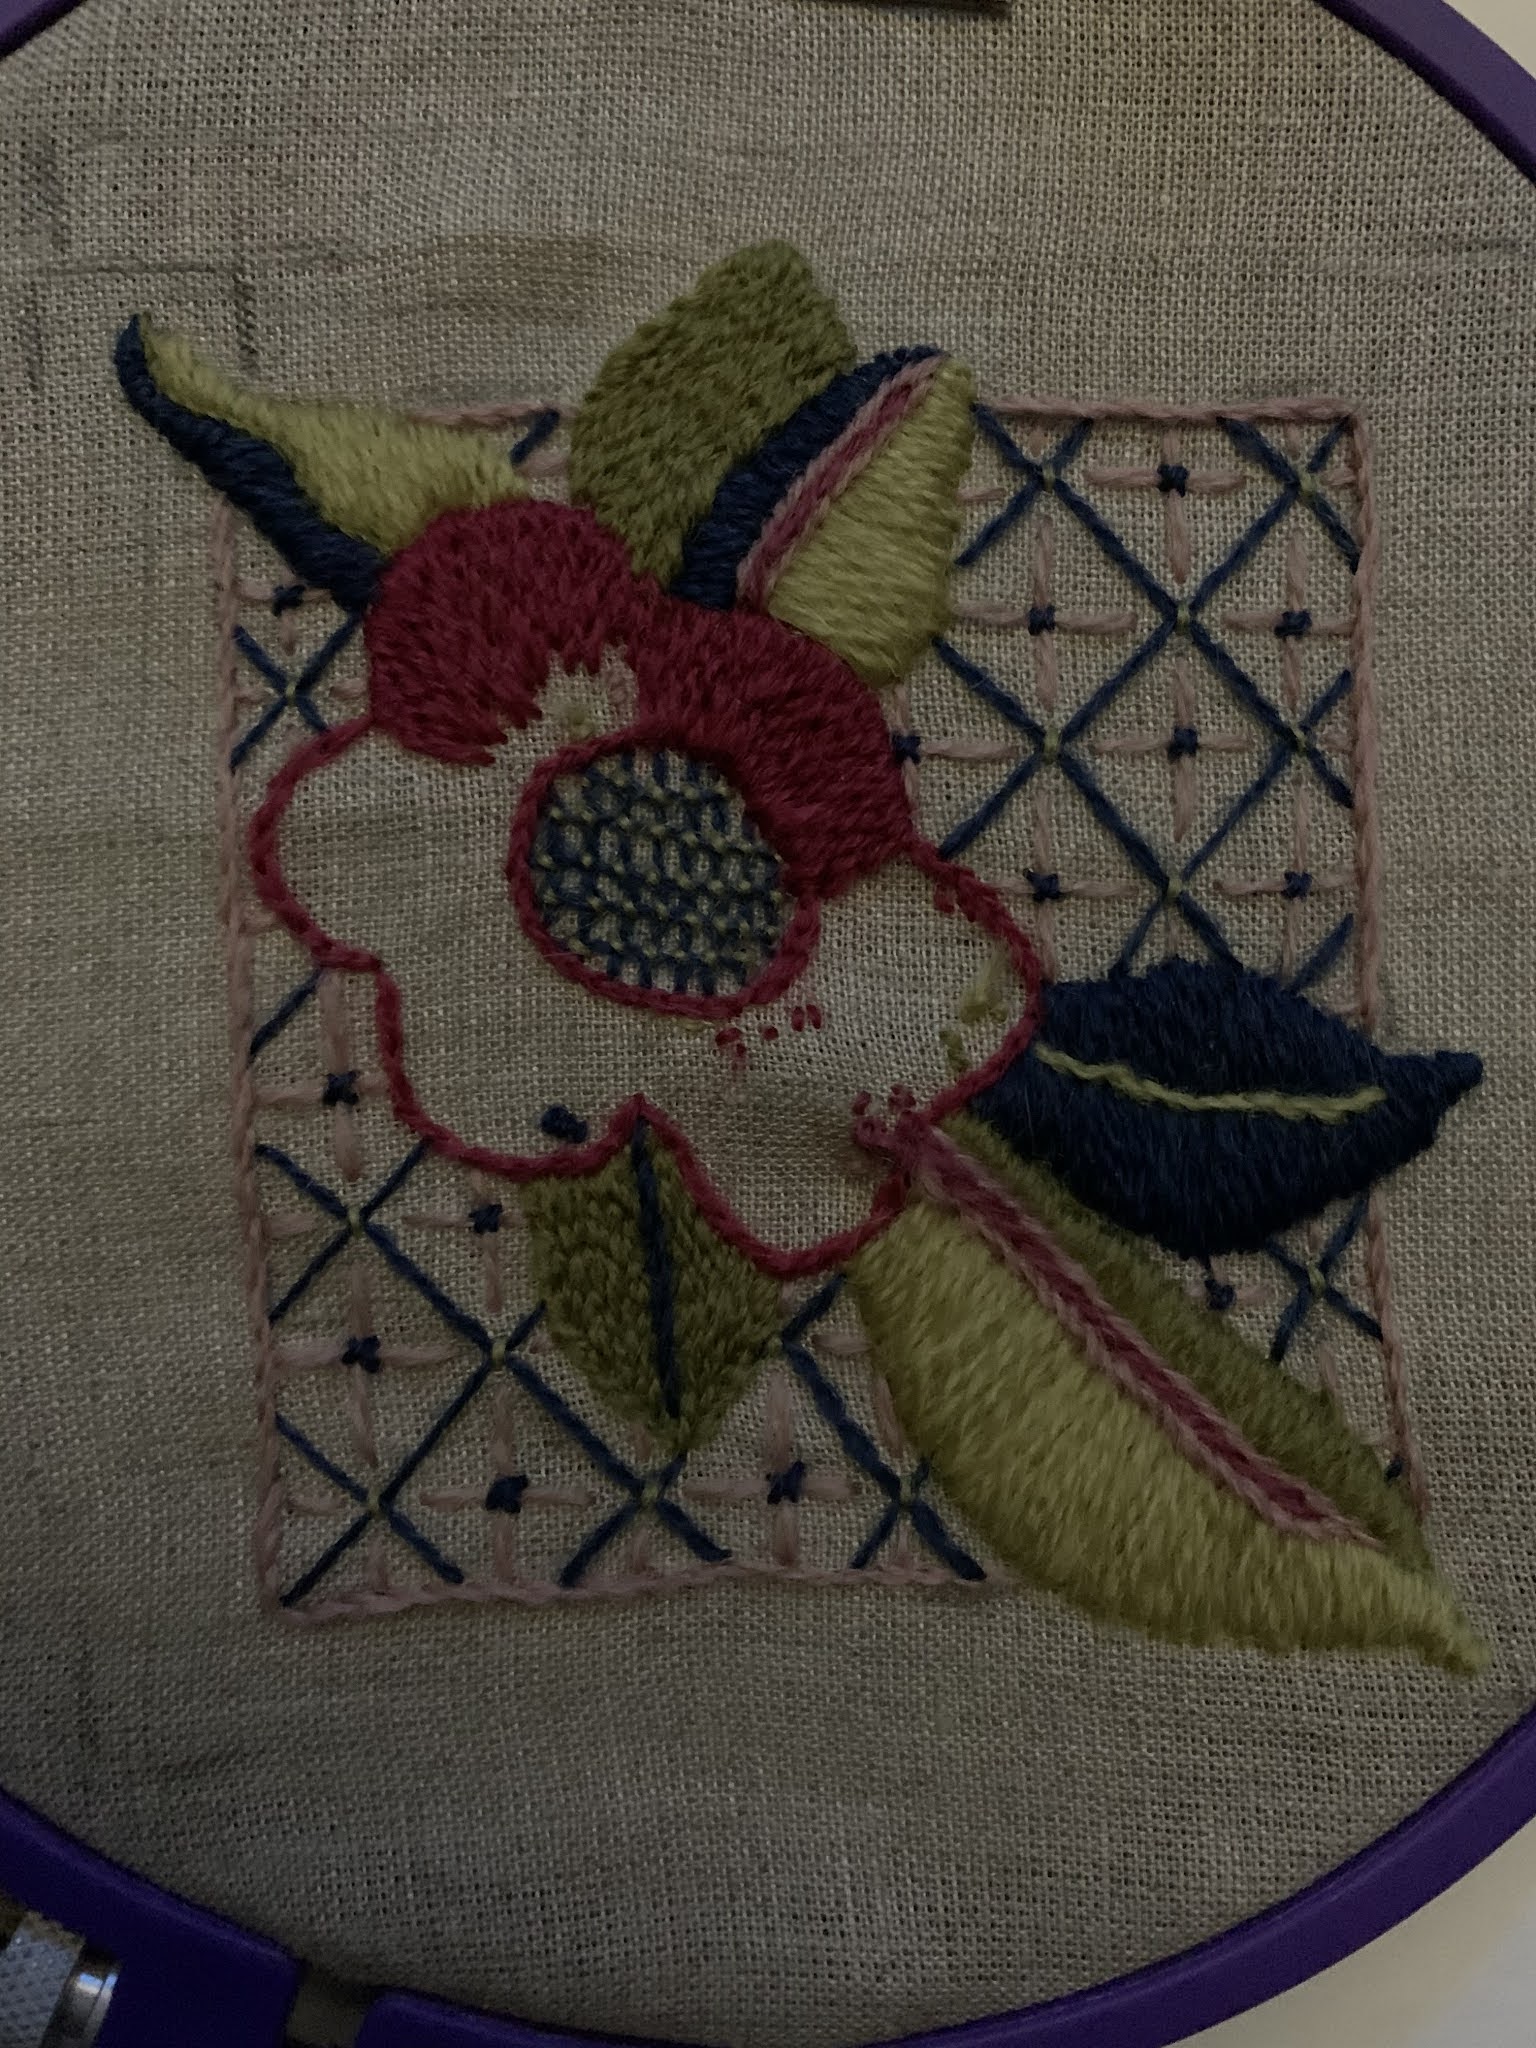
Stitches used: Long & Short, Satin, Split, Stem, and Trellis with Holding Stitch,
The instructions had a picture we had to transfer to the piece. Since my lightboard was buried, I tried to do it on my computer screen. No Bueno. As you can see in the progress pics, the leaves are different sizes and the flower is misshapen. I noticed to late to correct some things, The top leaf could definitely use to be larger but I don't know if I have the energy.
Other issues I have include not having great instruction on the shot & long stitch. She could have saved me SO much angst if it had been taught correctly. There were no "tips" or "tricks" on ow to get the satin stitch to lay better. Mine seems to to better if I do the method of coming up on 1 side and down the other. I did try the up on side A, down on side B, up on side B and down on side A method. While using less floss, I just wasn't getting the coverage. And the pucker is bad under the bigger leaves! I did do the split stitch outline below but my tightness varied and I created a pucker. You might be able to see it on the back.

Getting started. My transfer skills were not up to par for this. Next time I will know to transfer the pattern before the class. Also, pencil is a nope.
Extended some of the leaves to make it a little more like the pattern. No hope for the poor flower though.
Did some background trellis.

Bah. Calling it done. Trying to make a square around the piece to cut it out.

The backside. I am back stitching to a piece of brocade I have lying around. I forgot the brocade came apart easily.
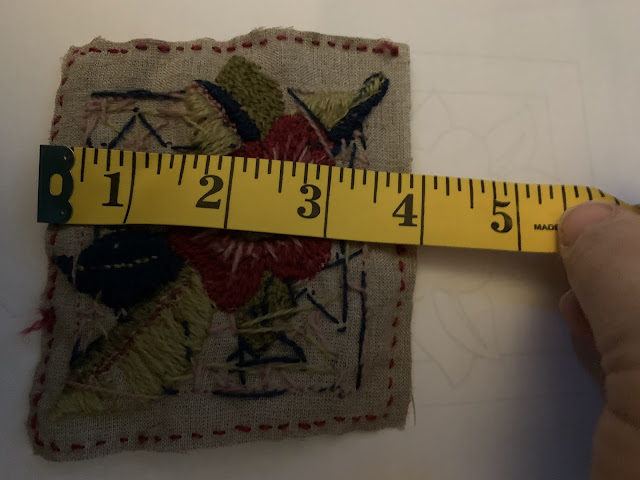
Measurements before stuffing

Measurements before stuffing

Ready to stuff!

The finished pin cushion

The finished pin cushion with flash

Measurements of the final piece

Measurements of the final piece
Comments
Post a Comment