I volunteered to do an embroidered tyger patch as part of Athena's Thimble's consort gift. The tyger passant is the symbol of the citizen's of the East Kingdom - affectionately called Sparky. I wound up being assigned to do two patches, and wanted them to be different types of embroidery. I had never worked with self-adhesive water soluble stabilizer before (or any stabilizer for that matter), so I just trusted the process. I was very nervous while dissolving it and hope I did it correctly. The fabric was a little stiff in spots and I'm thinking I didn't get it all out of the outline. The coordinator had said just to leave it on, but I couldn't do the blackwork stitches with it in the way. Each outline took about 12 hours. I lost track of time on how long each fill took, but I finished the first patch partway through the 6th day and the second was done by the end of the next day for 7 full days of stitching (9 days total with two off for other commitments and to let my shoulder, elbow and hands rest). I received the kits on February 20th and had to have them back to the coordinator by March 15th, so every break I had I did some stitches.
Materials: yellow linen fabric, DMC 824 (blue), DMC 321 (red), DMC Blanc (white) and DMC 310 (black)
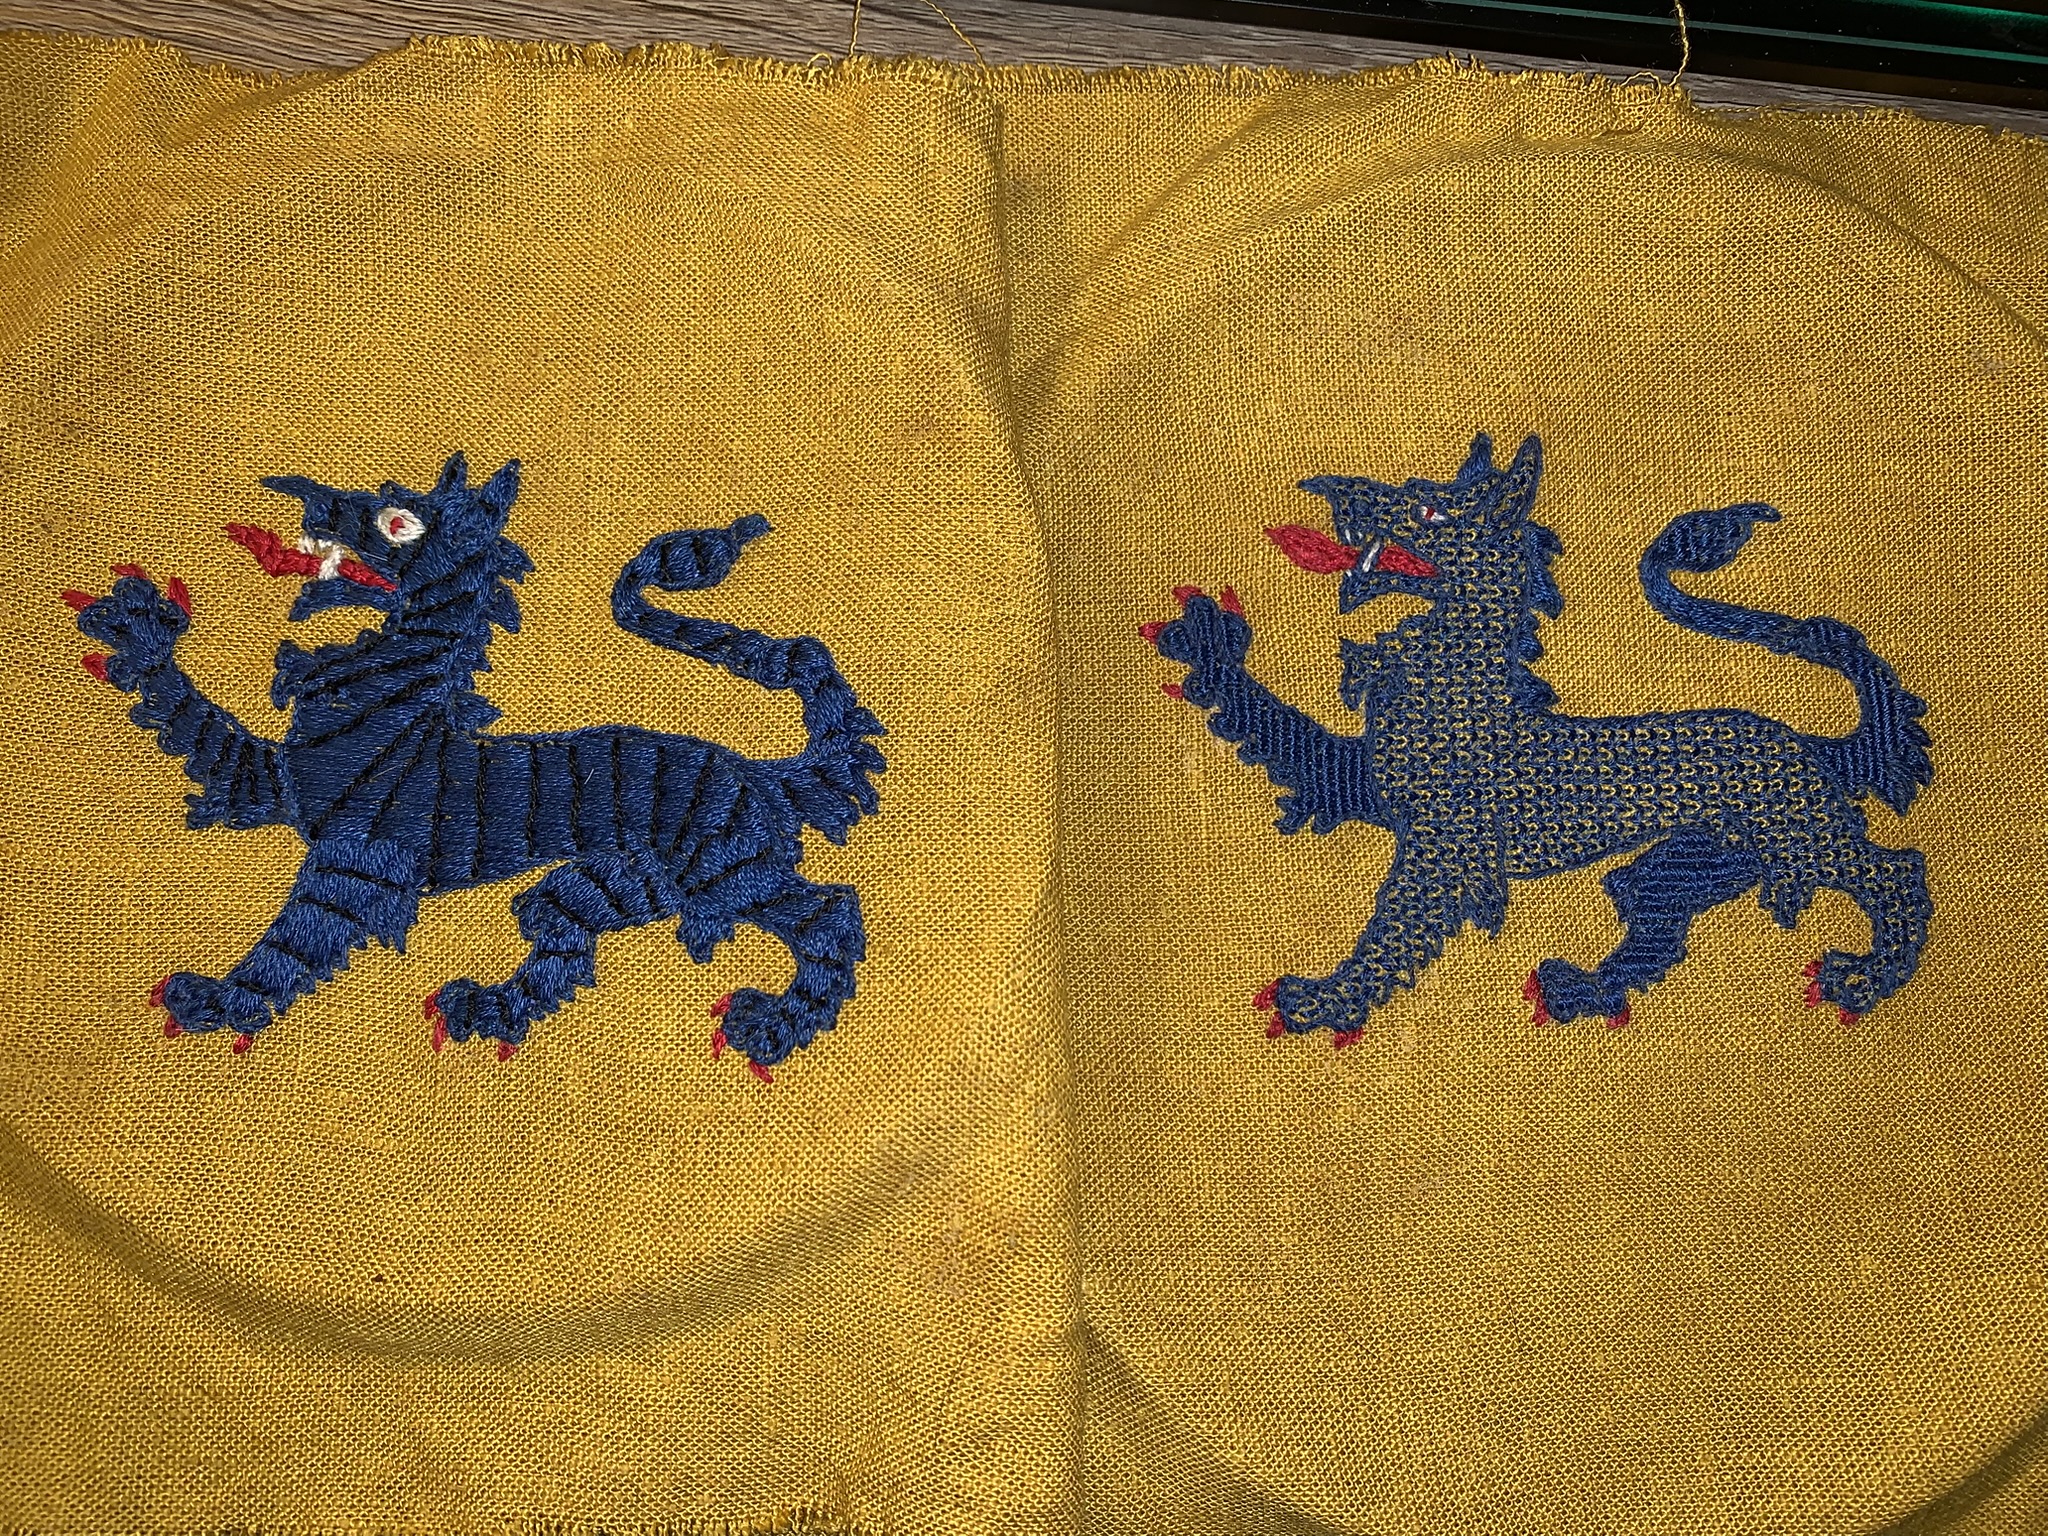
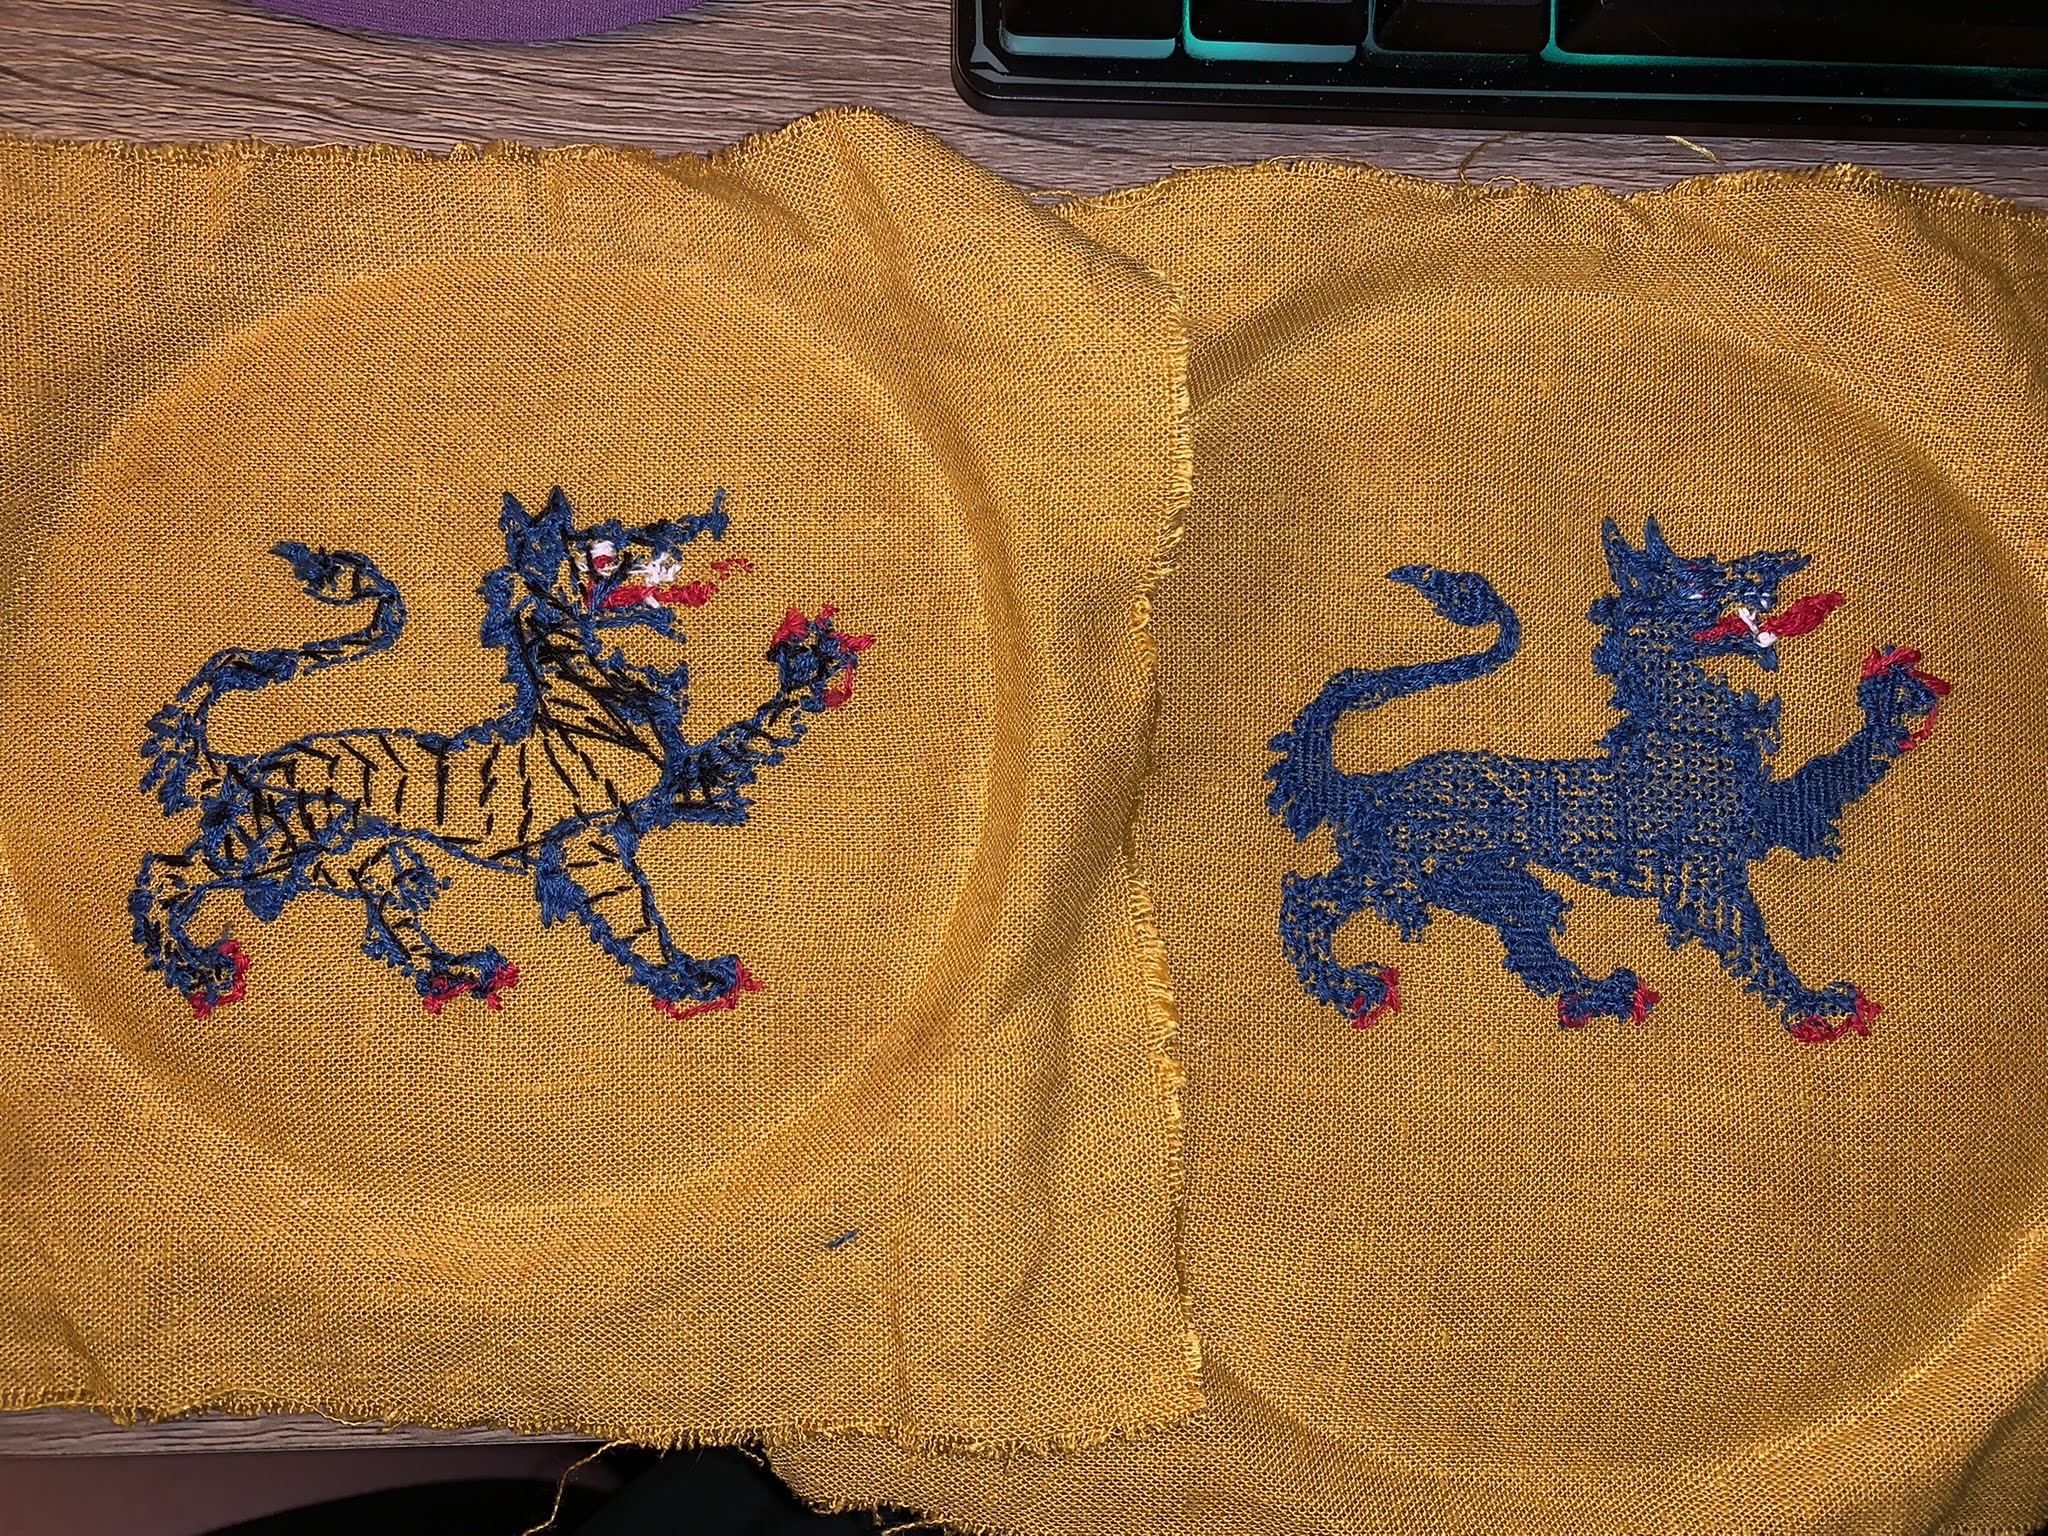
Stitches: both are outlined in stem or outline stitch, the claws, teeth and eyes are straight or satin stitches, the tyger on the left is Bayeux tapestry stitch and the one on the right has zigzag blackwork stitch and straight Gobelin stitch.
The finished Pieces
So the self-adhesive water soluble stabilizer came with the tyger drawn on - thank goodness! The instructions said to peel the backing off and place it on the fabric. That felt wrong to do and it didn't want to really stick at first, but after a day it was really on there!
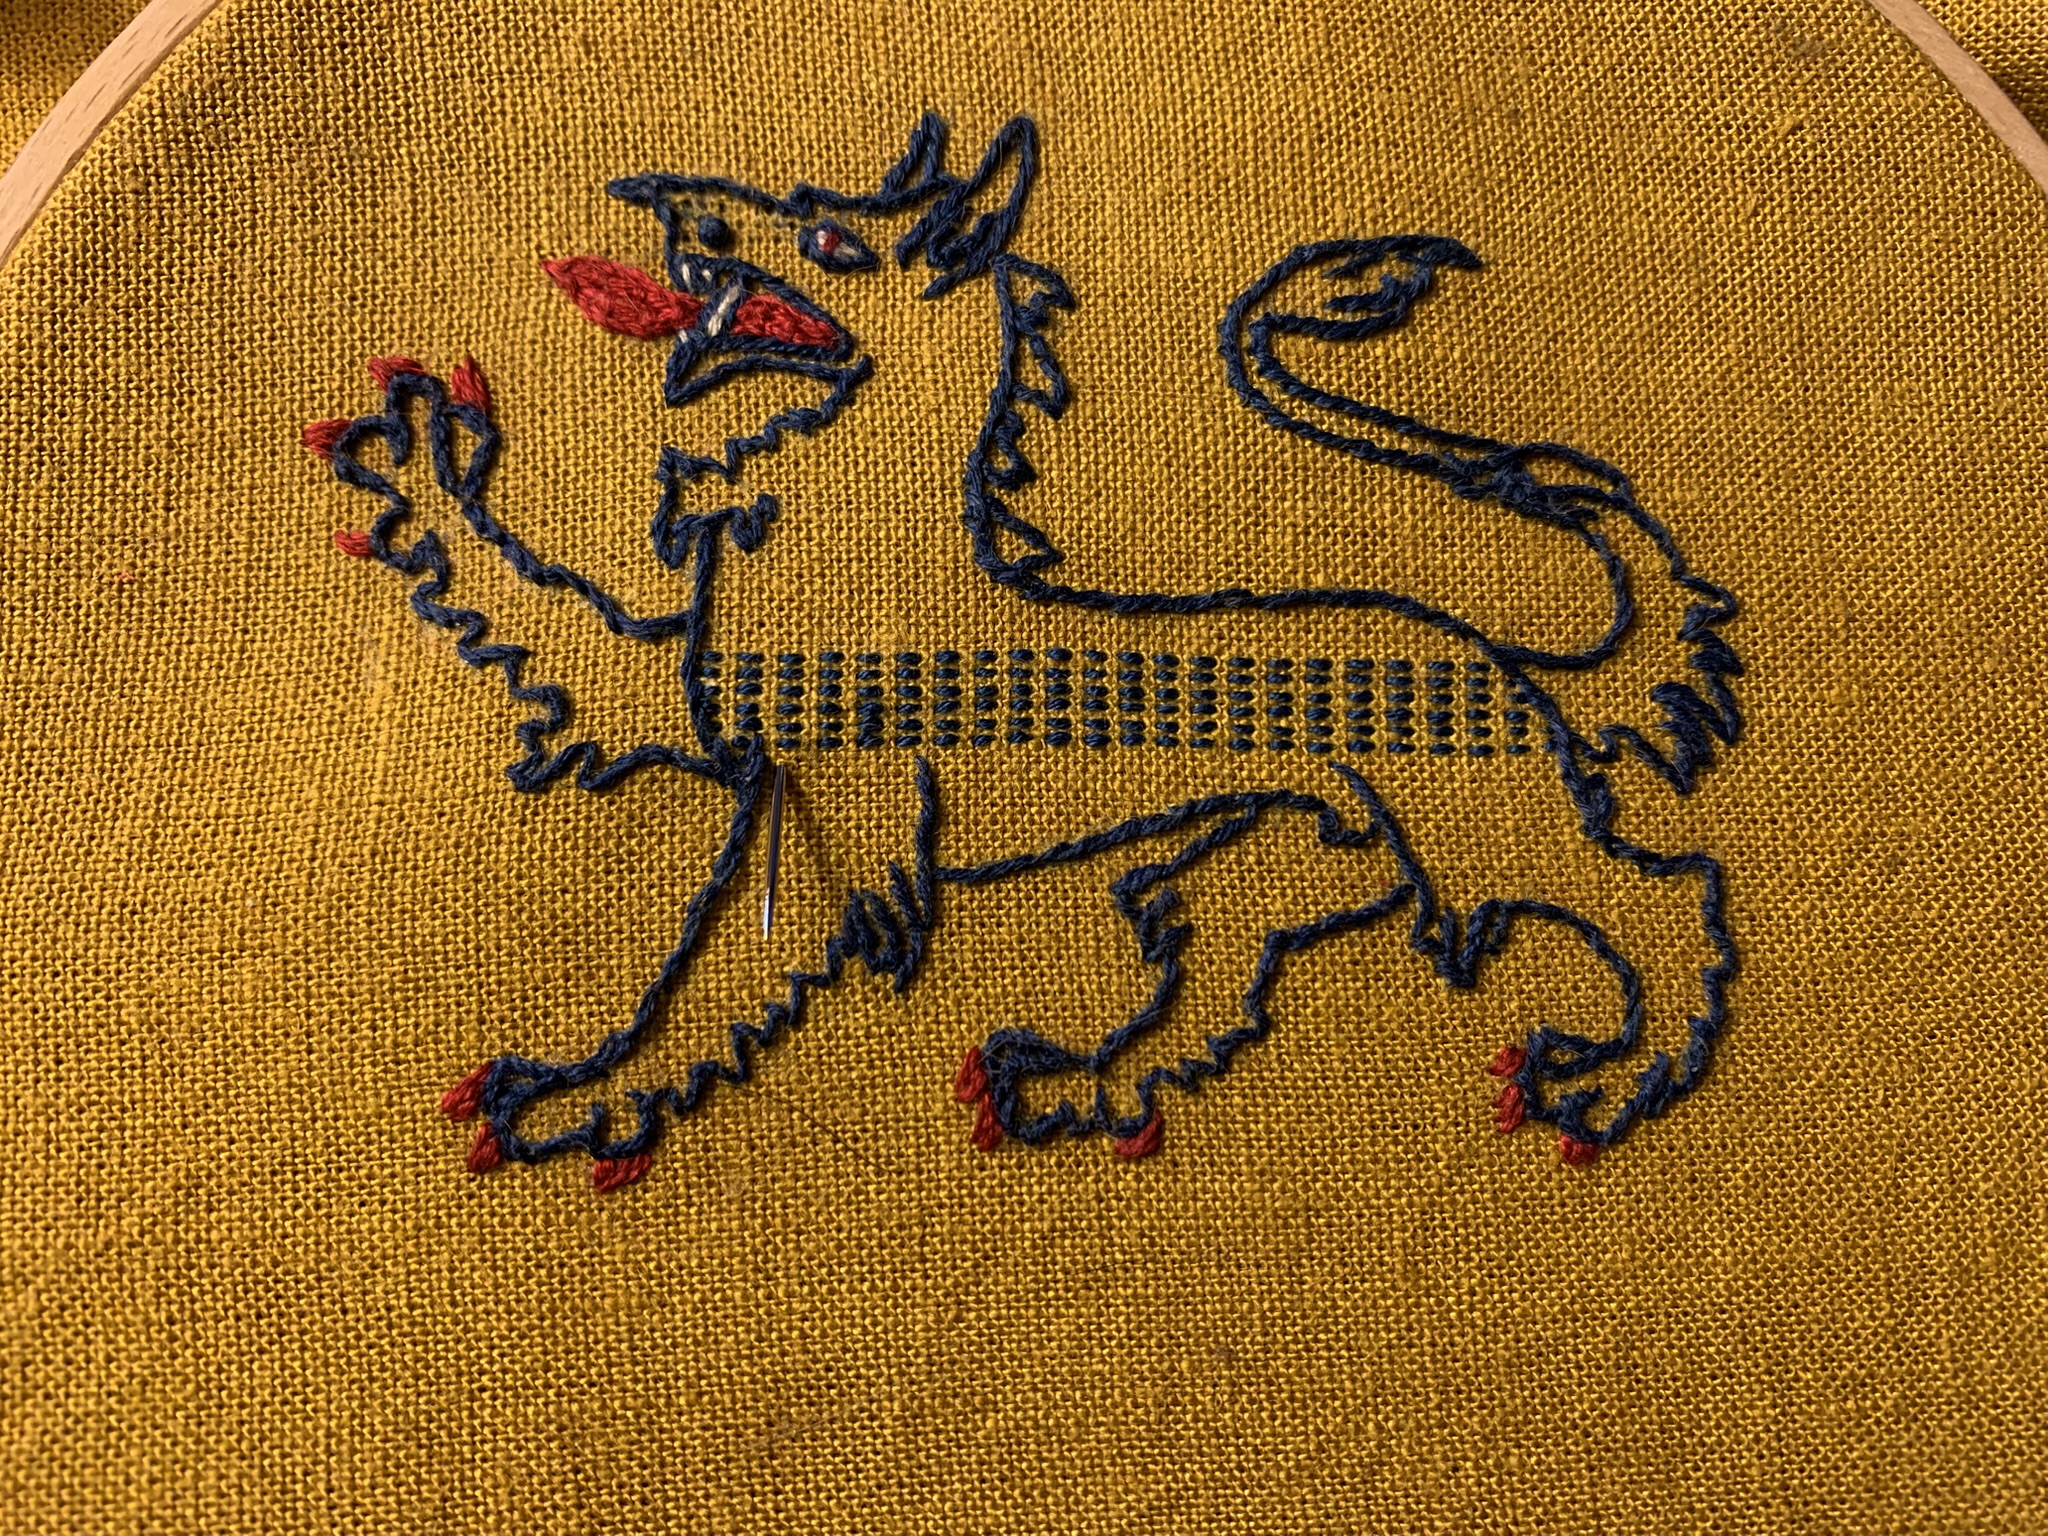
I started by doing the outline on both tygers as I knew it would take longer than the fills. And it's boring :) Some of those sharp edges were annoying to try and keep crisp. They get lost later on anyway when I tried to stick to just the blue and red that came with the kit. I should've outlined the Bayuex stitch on in black at least to make the outline stitch pop better. Live and learn.
Tada! 2 outlined Tygers with eyes, teeth, tongue and claws done.
Starting the zigzag stitch. It is Built up over 3 passes.
Just keep running...
Stopped and started some straight Gobelin to break up the monotony
Starting the second pass of the zigzag stitch
Here we have the first pass at the top, the second pass in the middle and the completed stitch at the bottom. I also finished the straight Gobelin on the leg.
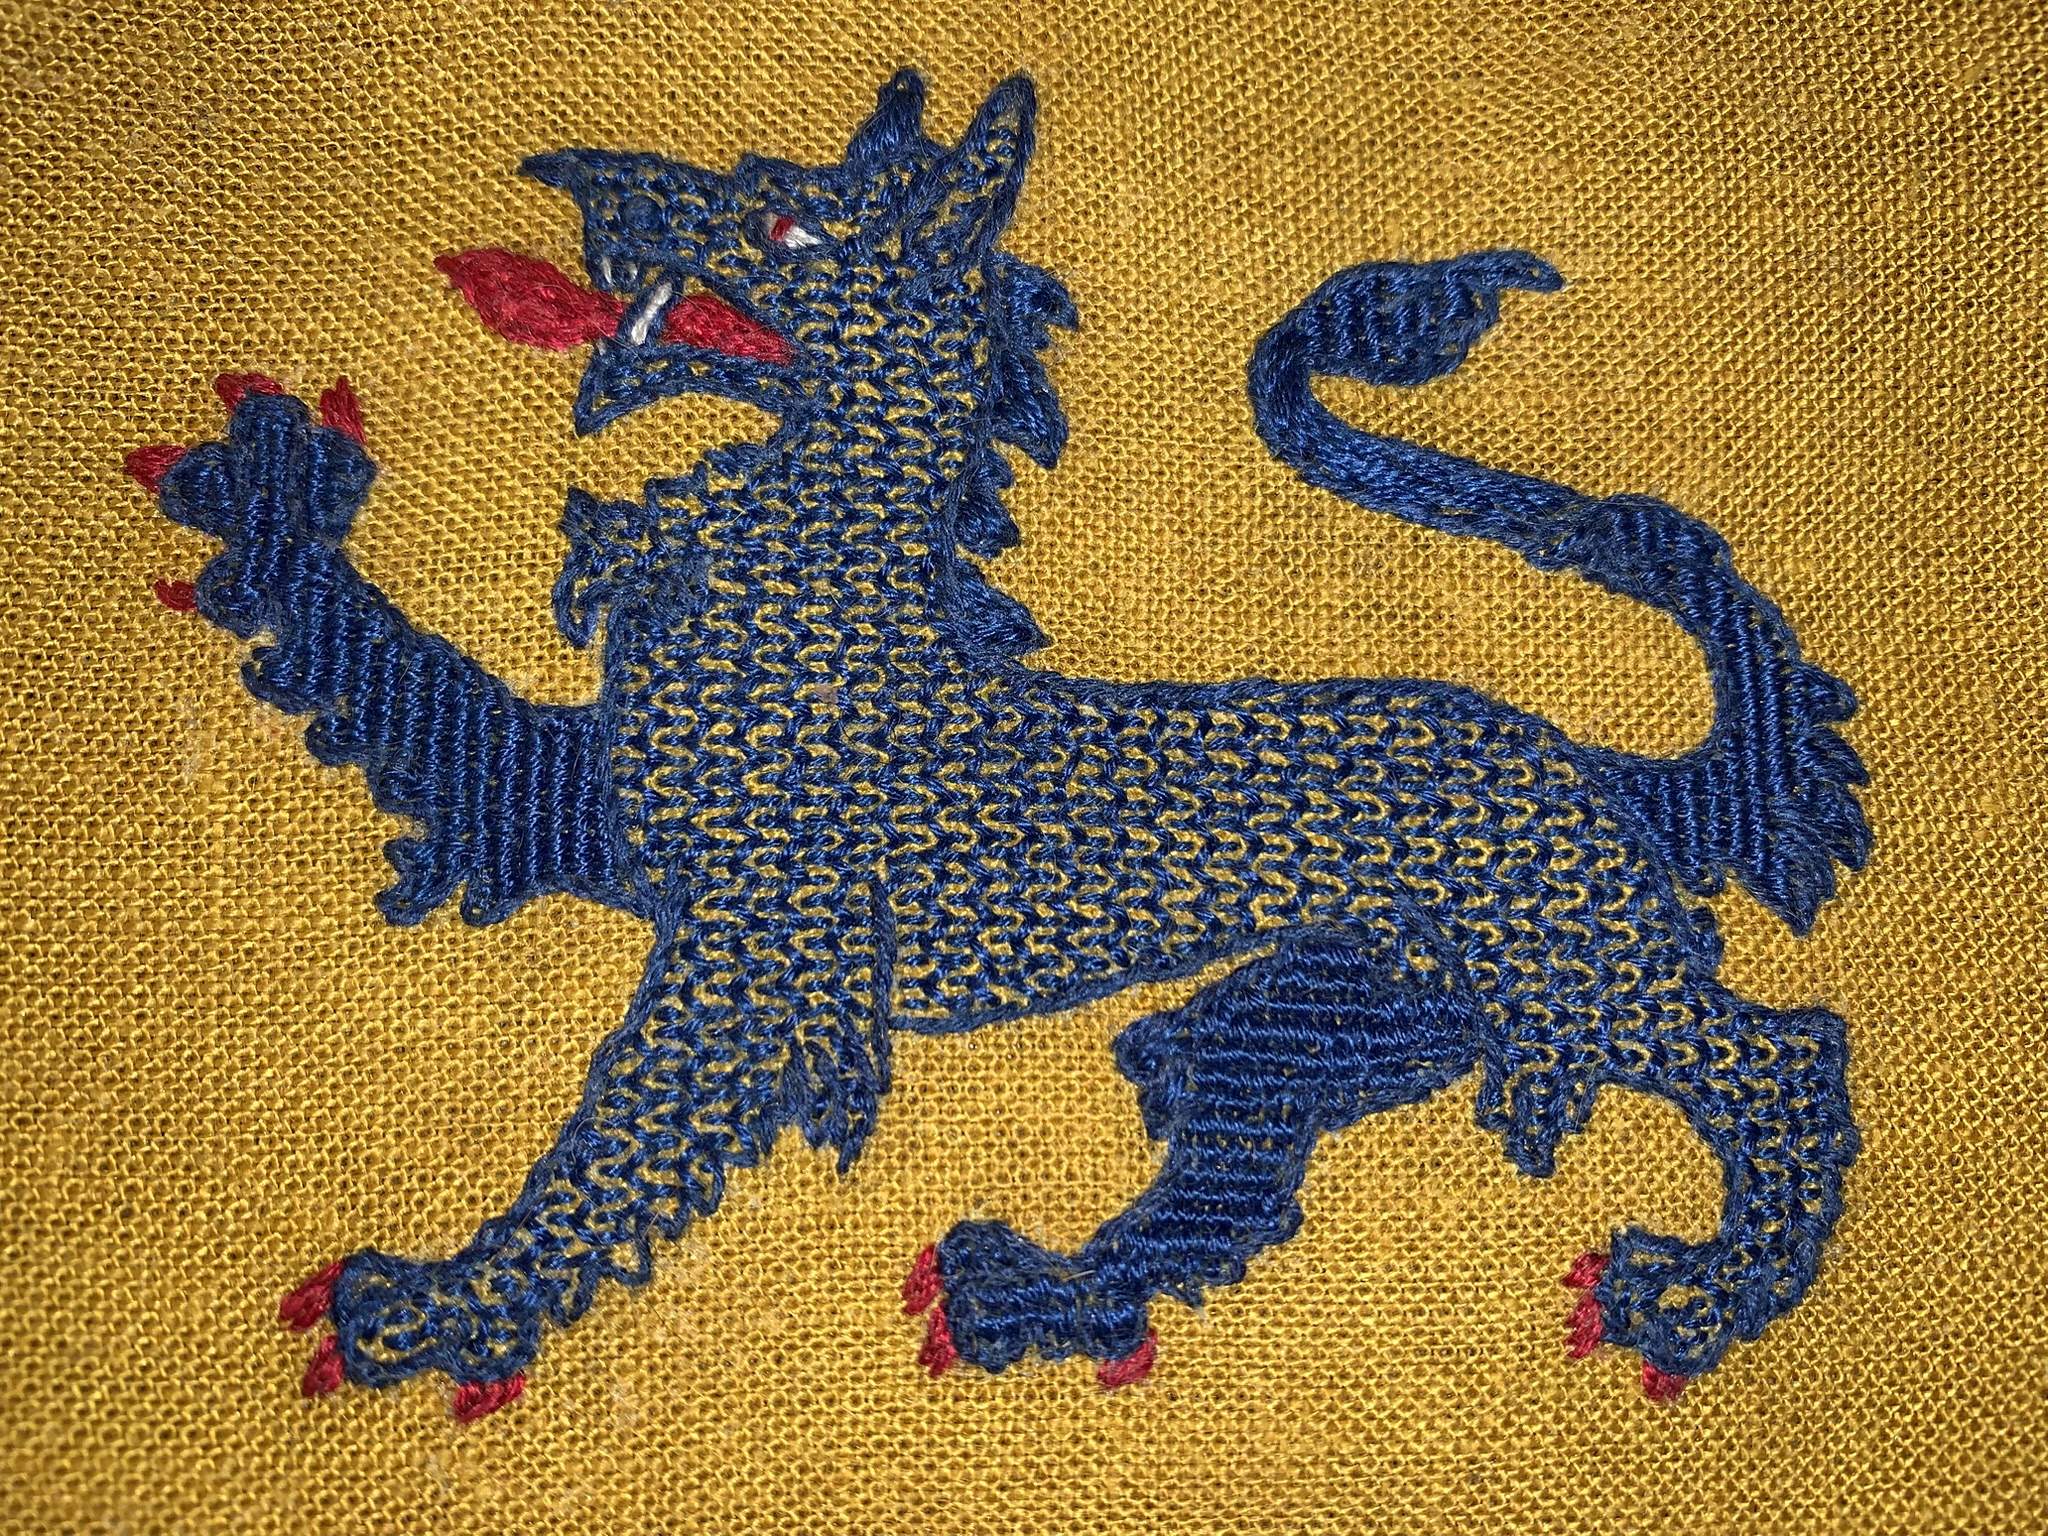
Here is the completed first Tyger patch. I like how this turned out. Using the 2 different stitches really gave it some depth.
Working on the fill for the Bayeux stitch. This also has 3 steps.
After the fill, you start the stitch to hold them down and them come back and couch that stitch down. The trick is to couch on an angle - if you go straight you make a "hole" between the threads that the fabric is visible through.. I took a little free license to make the "parts" stand out.
This guy looks surprised!
And the backs.
Below are pics of the finished gift by Dayna Tarabar from the Keeper's of Athena's Thimble as presented at Mudthaw on 3/29/2025.

.JPEG)


Comments
Post a Comment