This was a kit for a class sponsored by the Embroiderers' Guild of America (EGA) taught by Terri Bay Needlework Designs. Obviously, I fell behind and put it in time out. I've now picked it up 2 years later to finish it as part of the Athena's Thimble 100 days of Embroidery.
There were 7 weeks of instruction. Each week we were expected to complete that weeks lesson and report back. The classes started July 5, 2023. Needless to say, I fell WAY behind doing Part 1 and by the time we got to Part 2, the button hole stitches around the outside, I gave up. The Keepers of Athena's Thimble is hosting a 100-day embroidery challenge and I managed to completed the rest of this in 18 days. Never give up.

Lesson Two: Blanket Stitch - The blanket stitch is what holds this piece together when the excess fabric is cut away. It is worked all of the way around the design. It is also worked around the Kloster variation in the center. Blanket stitch is the most commonly used edging in Hardanger.


Lesson Four: Cutting Fabric Threads - this was nerve-wracking and, of course, I did cut the wrong threads at one point, but managed to fix it by weaving new threads in to replace the ones I cut. Normally you would weave them in from one side of the fabric to the other, but in this case I did not have to but had to be careful to catch all the stitches I'd already completed on the fabric.


.JPEG)
Lesson Five: Filling Stitches - Filling stitches are one of the hallmarks of Hardanger. The fabric threads remaining after the cutting can be either woven or wrapped into bars. Further ornamentation is added to the bars, either during the wrapping or weaving, or after the wrapping or weaving is finished. Woven bars are a mainstay of Hardanger embroidery. The four fabric threads left after the cutting in Lesson Four will be woven together in a figure eight pattern two threads over and two threads under. The bars are further embellished with Dove’s Eyes. The Dove’s Eyes are worked in the open squares left by the fabric threads that have been removed. They are a looped stitch which means the pearl cotton loops over itself in the stitch. Some of the Dove’s Eyes are embellished one step further with crosses. The crosses are simple to add, and have a woven appearance. Wrapped bars are also common. The fabric threads are wrapped with the pearl cotton either in pairs or groups of four. Some of the wrapped bars in this design have weaving incorporated into them to create a Greek Cross, and others are embellished with Dove’s Eyes.


Lesson Six: Woven Bars, Crossed Dove’s Eyes, and the Lacy Daisy - The bars in the center are woven as in lesson five, and some Crossed Dove’s Eyes are worked along the outer edges of the center. The Lacy Daisy will be worked in the very center of the design. The Lacy Daisy is a looped and woven filling stitch. It is worked independently of the woven bars and will be worked with a loose tension. The thread needs to be able to curve and wrap around the bars.
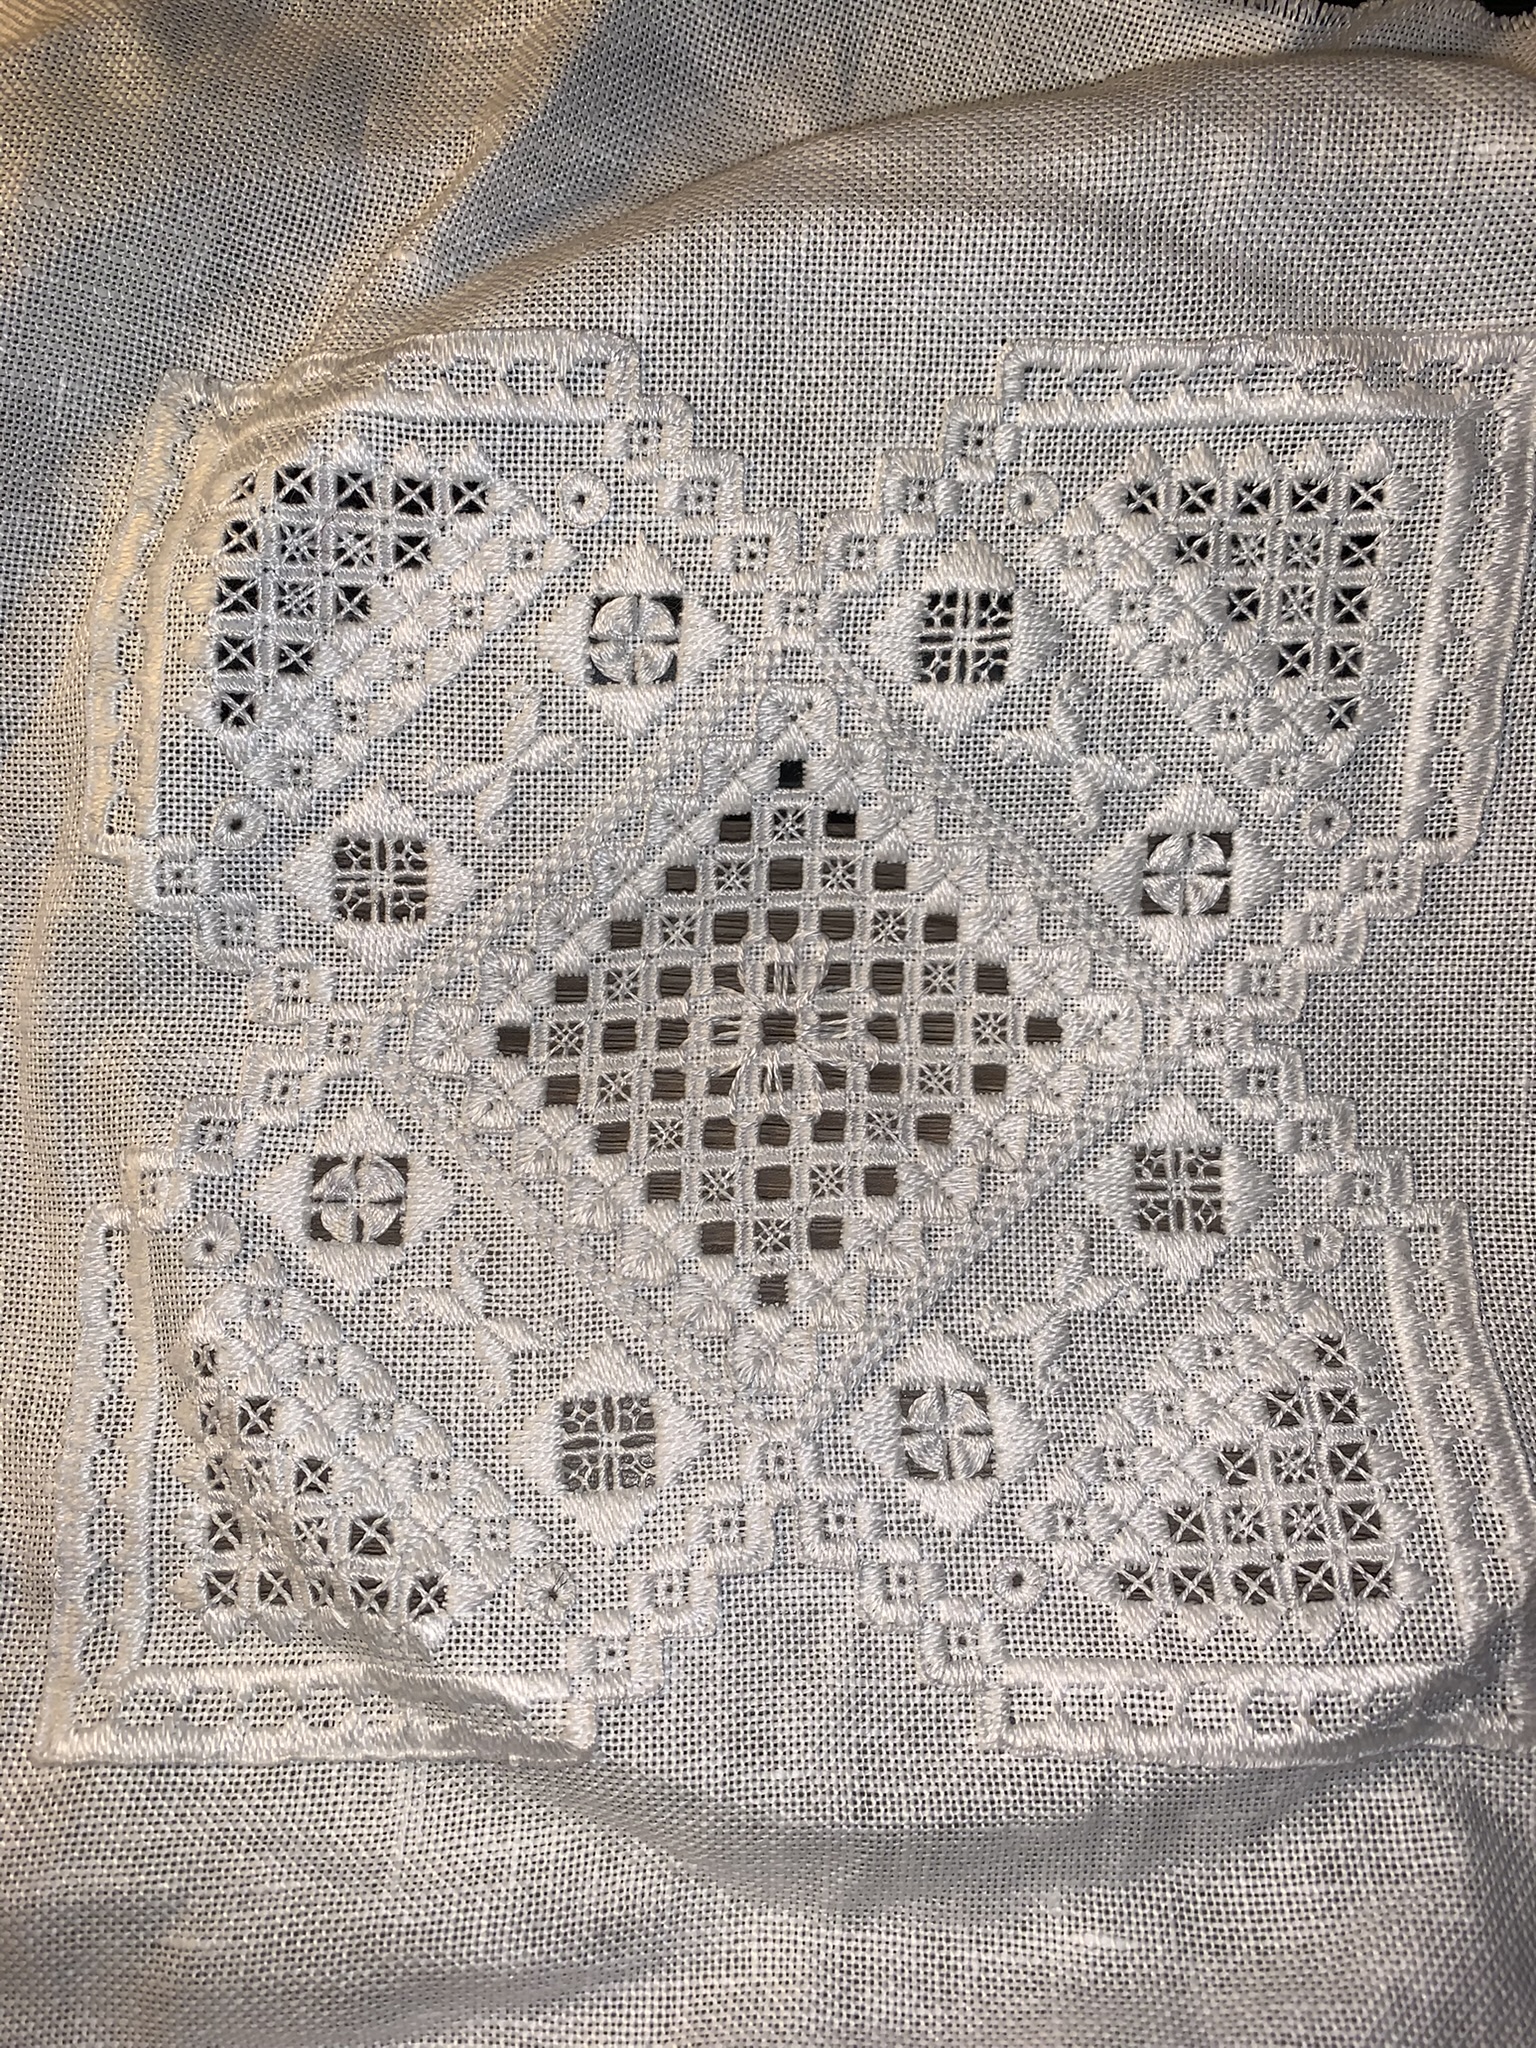

On the left the wrap and Doves eyes done correctly. The lacy daisy is there but not very visible. On the right a closeup of the lacy daisy as I'm making it.
Lesson Seven: Lacy Edge and cutting the design from the fabric - The lacy edge is a delicate looking edging worked with woven bars and blanket stitches. Don’t let that delicate appearance fool you. It is stronger than it appears due to some reinforcing stitches worked before the bars are woven. It is worked primarily with woven bars, having blanket stitches added at the outermost corners.


Comments
Post a Comment